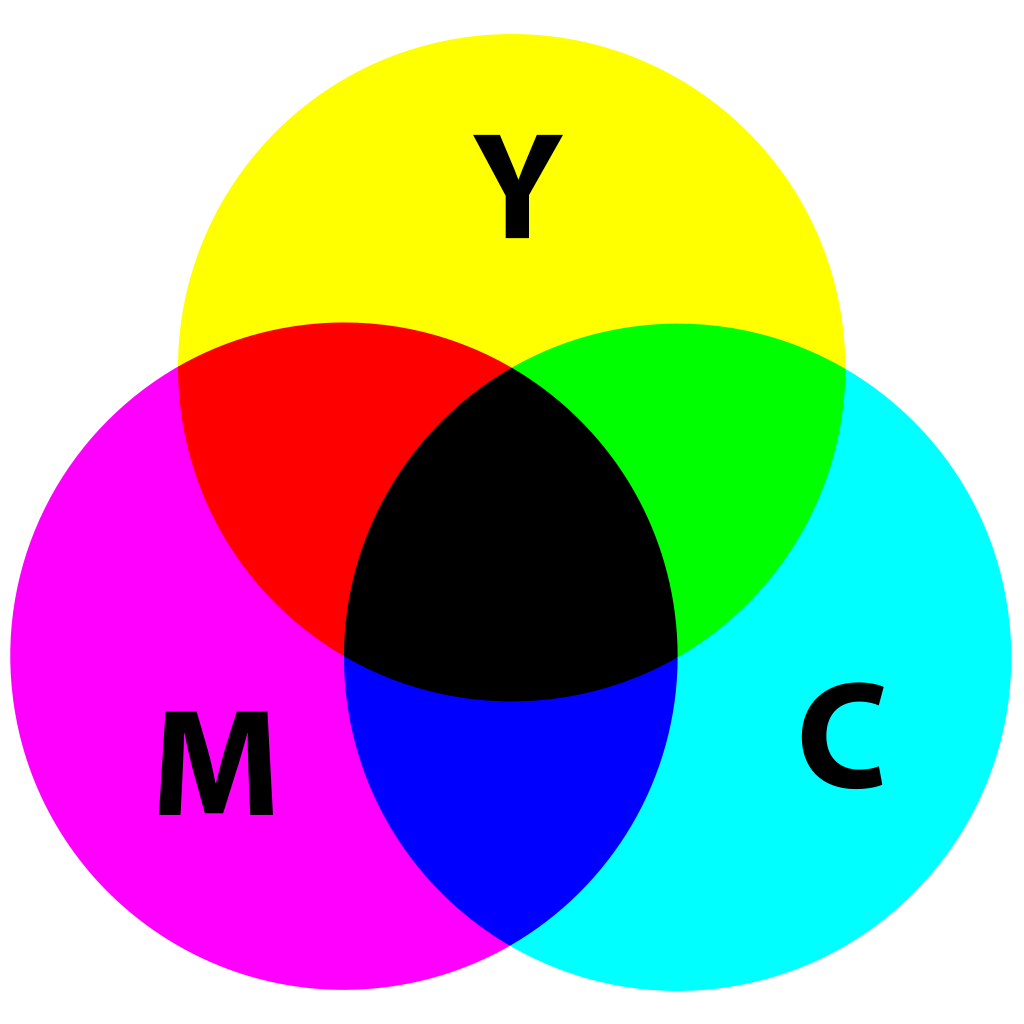
You might know CMYK from the ink cartridges in your printer. CMYK stands for Cyan, Magenta, Yellow and Key (black).

Source: SharkD, CC0
The CMYK model is a subtractive model and can be best understood from the process of printing ink with CMYK colours on a (white) piece of paper: where cyan, magenta and yellow ink overlap, no light (or almost none) is reflected, resulting in black. Where for example cyan and yellow overlap, magenta is “subtracted” from the reflected white light, resulting in a green colour.
Printers do not print full blocks of solid cyan, magenta and yellow colours. If they would, printers would only be able to print 7 colours (the ones in the image above). Instead, printers print tiny dots of ink, so that for example pink can be produced by small dots of magenta with enough white space between the dots. Because the dots are so small, we perceive a solid pink colour.
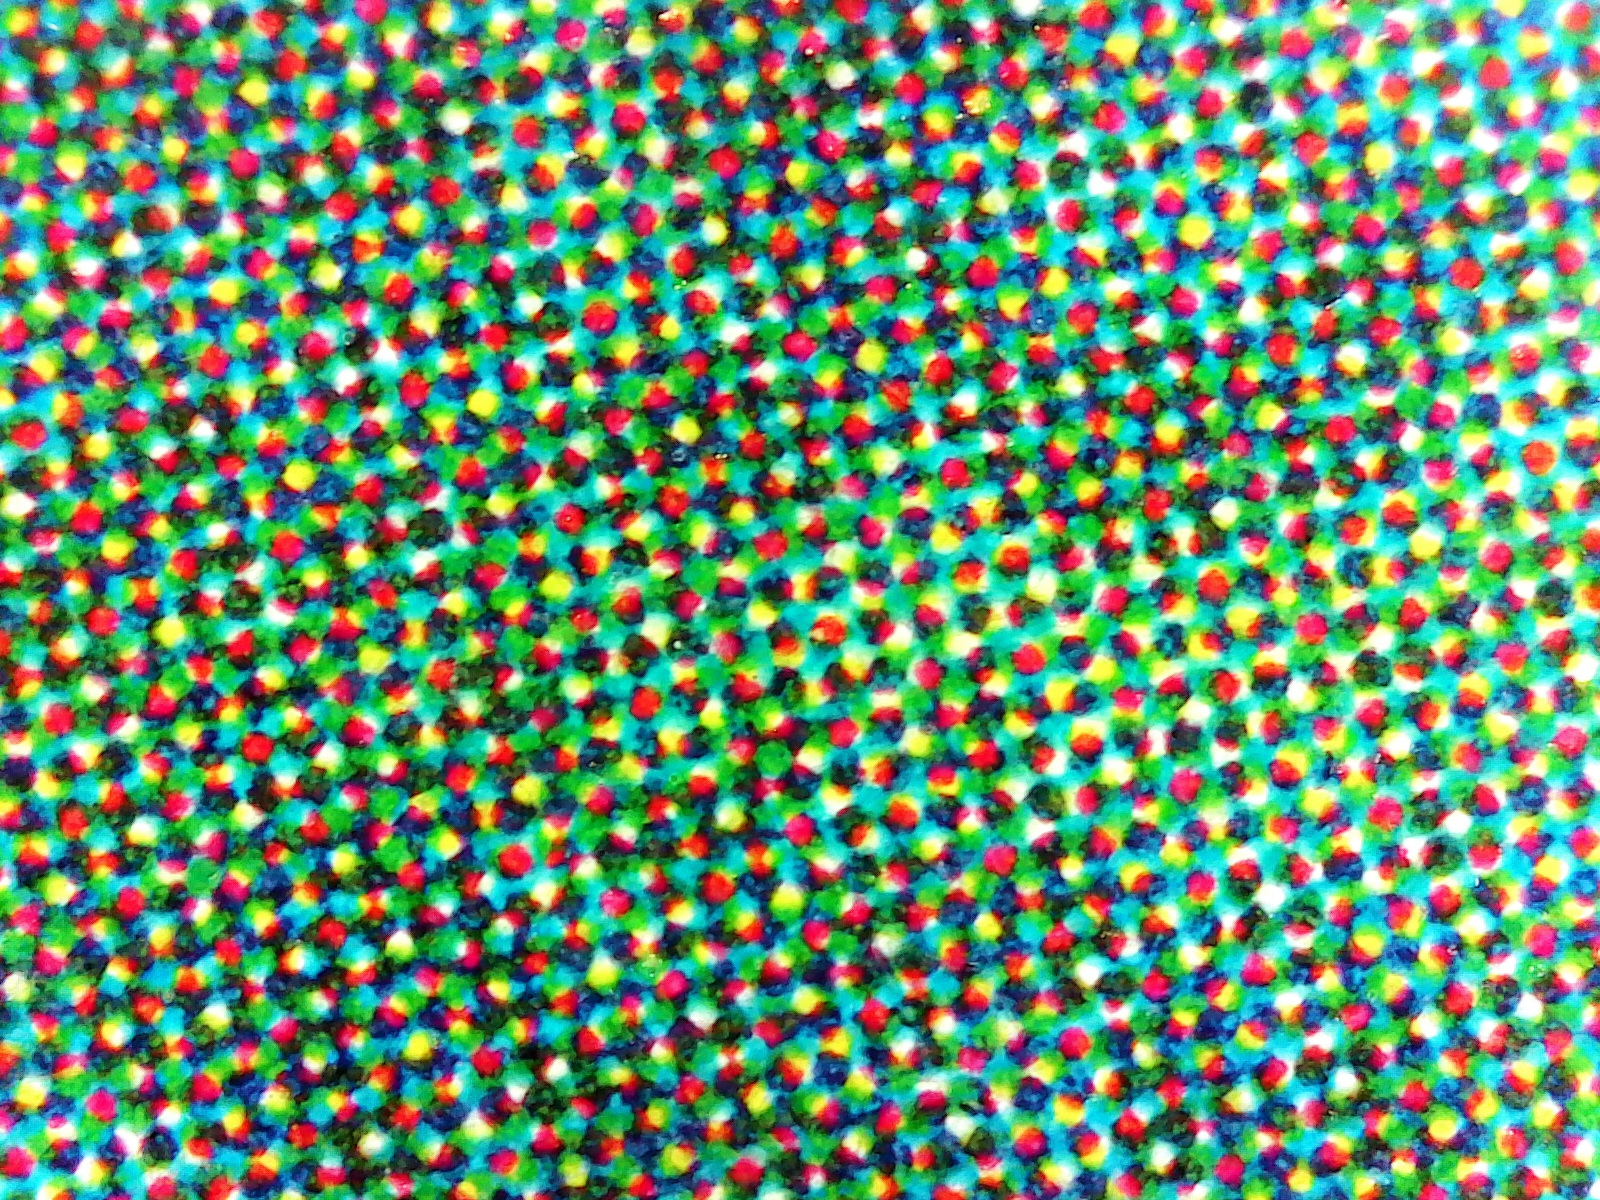
This technique of printing small dots of ink is called halftoning. By varying the size of the dots for each color, printers can produce many different colours. In the image below, you can see a CMYK print under a microscope. You can clearly see the dots of the CMYK colours.

Source: Psihedelisto, CC0
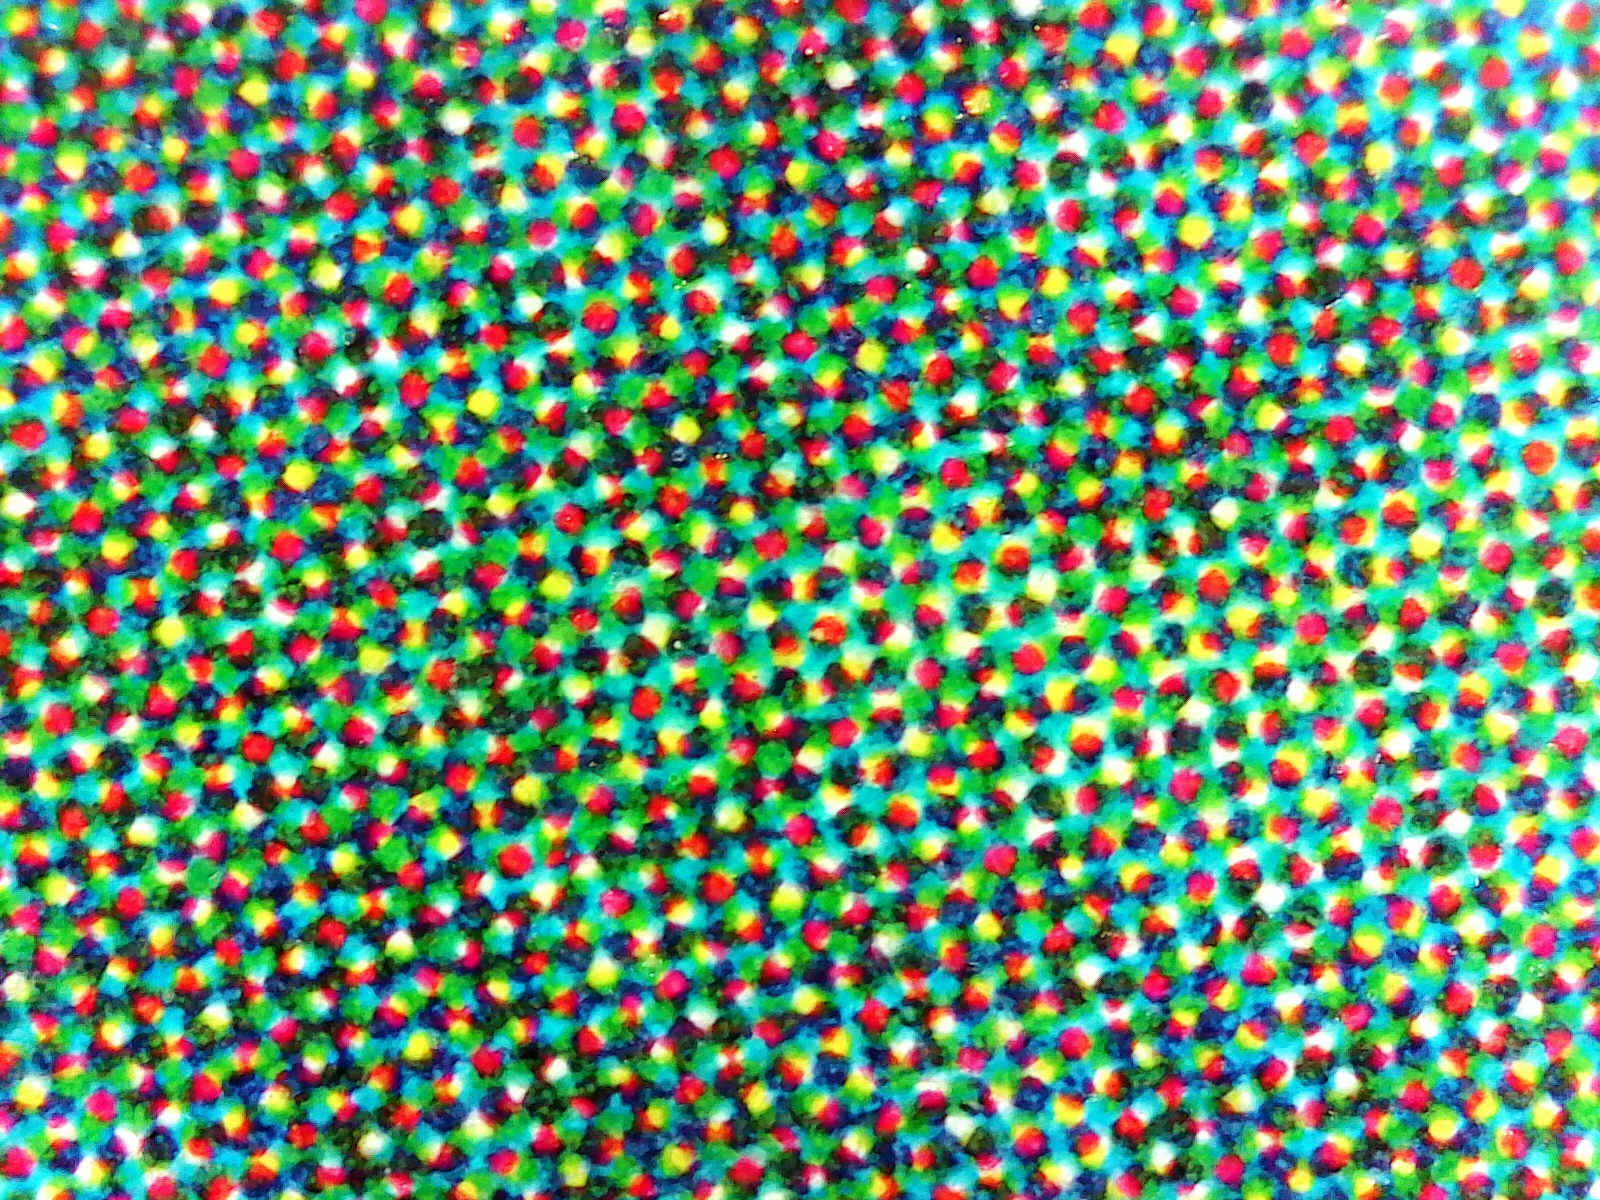
The image below is the same image as above, but displayed much smaller. It is impossible to spot the individual dots of ink, and the image seems to contain solid, light and darker teal tints.

Source: Psihedelisto, CC0
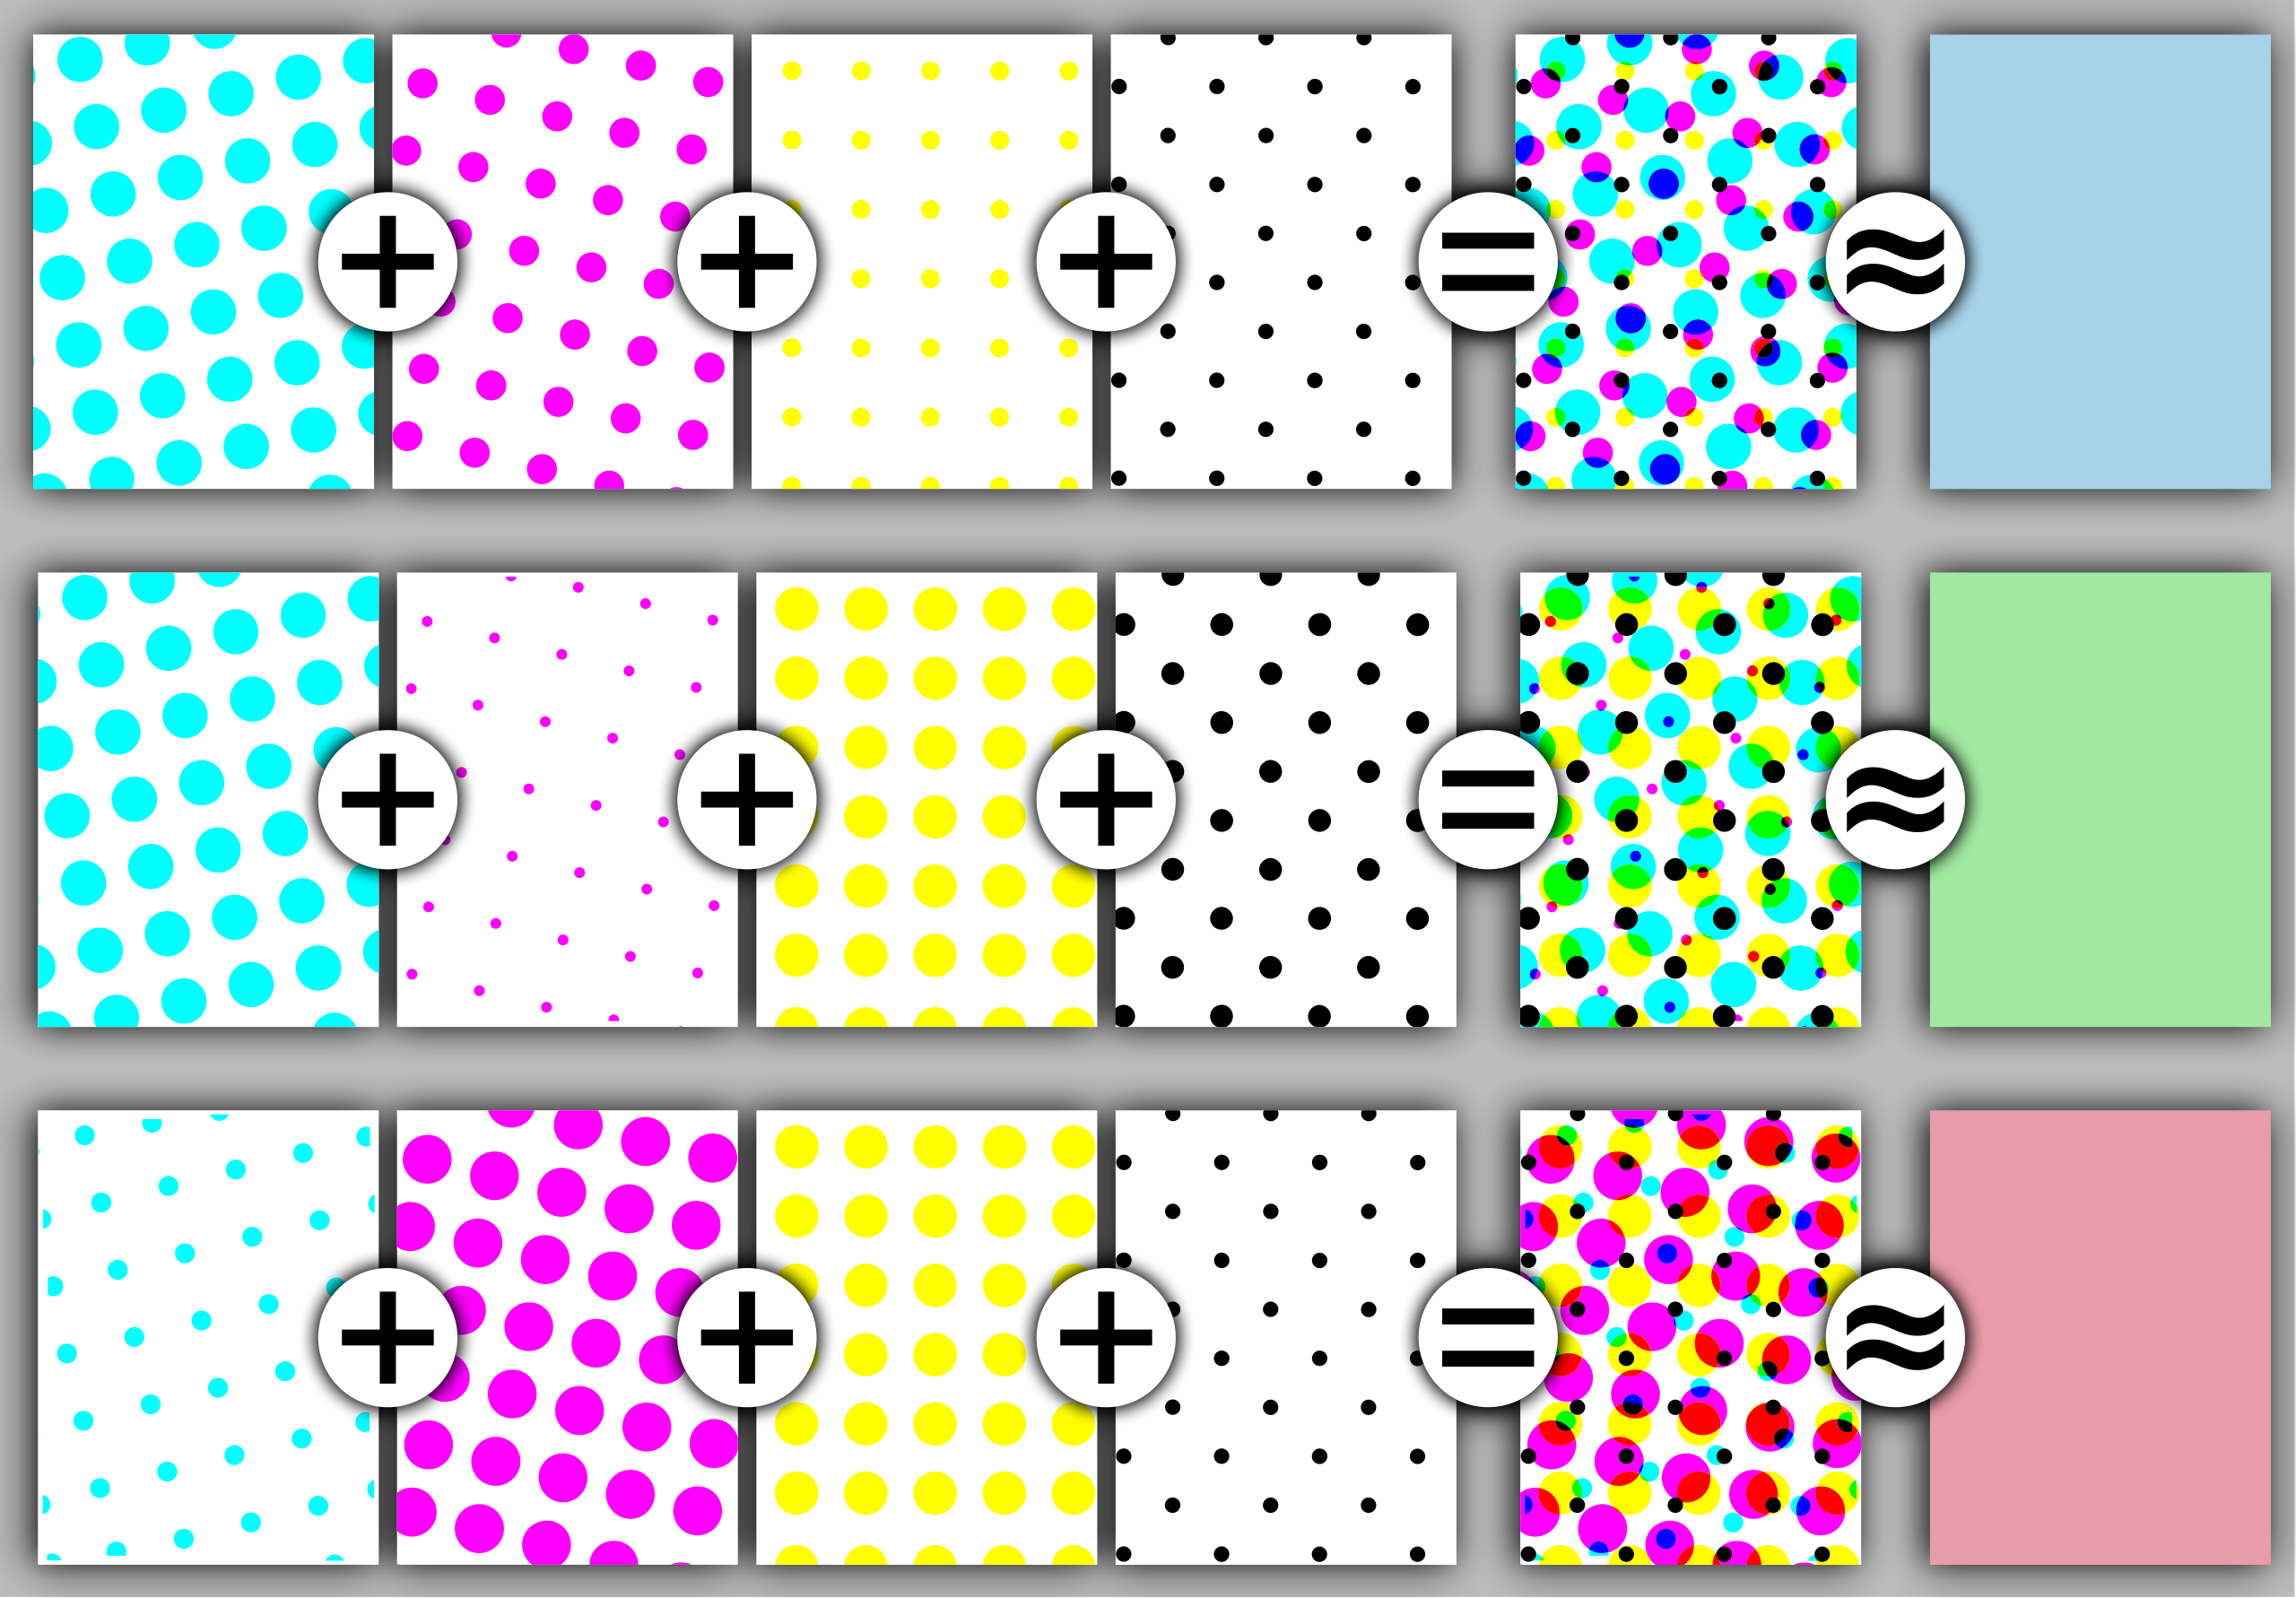
The image below illustrates how printers can produce different colours by using halftoning. Different dot sizes for different ink colours determine the resulting perceived colour. Note the use of black ink dots, which is more efficient than combining cyan, magenta and yellow to produce black. Rotating the grid of dots for the ink colours produces better print results.

Source: en.wikipedia.org/wiki/File:Halftoningcolor.svg, public domain